
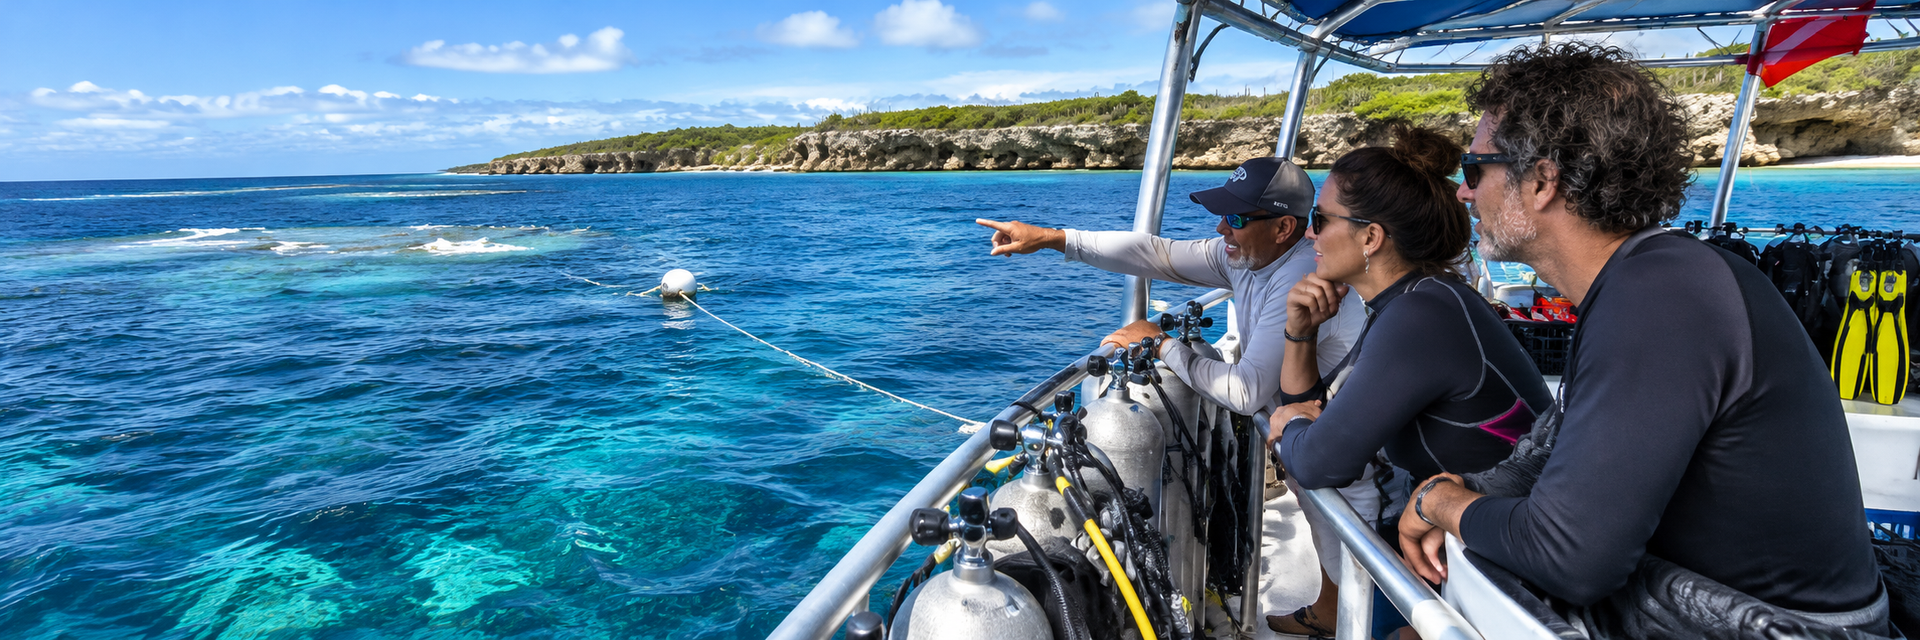
Experienced divers learn that a good dive begins before entering the water. Before entering any site, they spend time observing conditions, asking questions, and forming a plan that accounts for what the water is actually doing. This guide covers the five elements of a practical pre-dive site assessment: current, visibility, surge, timing, and entry and exit planning. It also covers when conditions mean the right decision is not to dive. These are not advanced techniques. They are habits that any certified diver can develop, and they change the quality of every dive. Reading Current Current is the single most important environmental variable on most dive sites. It determines where you enter the water, which direction you travel, how long the dive lasts, and how much air you consume. Getting current wrong costs time, energy, and air. Reading it correctly before you get in sets the foundation for the rest of the dive. Surface Indicators Start at the surface. Look for the way water behaves around fixed structures: a reef corner, a mooring line, the anchor chain, the dive ladder. Water piling slightly on one side of a structure and pulling away from the other gives you direction. The movement of floating debris, foam, or surface disturbance tells you speed and direction at the surface level. A mooring line or descent line may offer clues about current direction and strength. Watch how it behaves, but remember that line tension, boat movement, and current at different depths can all affect what you're seeing. Surface vs. Depth: They Are Not Always the Same This is the most important nuance in reading current. Surface conditions give you a starting point, but current direction and strength can change throughout the water column. A calm surface can have a strong current running along the wall at twenty meters. A choppy surface with visible current can be calm at depth. Thermoclines, bottom topography, and tidal dynamics all influence how current behaves below the surface. The practical response: treat your surface observation as an informed estimate. Confirm what the current is actually doing during your descent and in the first minutes of the dive. If conditions at depth differ significantly from what you observed at the surface, reassess the plan before committing to the dive direction. Tidal Influence At many tidal sites, current direction and strength change through the tidal cycle. The timing of those changes doesn't necessarily match high and low tide, and local topography can create complex patterns that vary from site to site. Slack water around the tide change is often the calmest window for diving certain sites, but the timing requires local current information rather than tidal tables alone. Local knowledge is valuable here. Experienced guides and local operators know how a specific site responds to the tide at different times of year. That information is worth asking for before you dive an unfamiliar site. Planning Around Current The standard approach on a current-influenced site is to begin the dive into the current and return with it, so that the effort portion of the dive happens when your air is full and your energy is highest. On drift dives, this logic is reversed by design: you enter and let the current carry you, with the boat following. Either way, the current is a parameter you plan around, not a surprise you manage underwater. Current that is manageable at the start of a dive can become significantly stronger as tidal conditions shift during the dive. Build a conservative turnaround point into your plan, and stick to it. Assessing Visibility Visibility shapes the character of a dive more than almost any other factor. It determines how far you can see, how you navigate, how you maintain buddy contact, and what kind of experience you'll have at a given site. Assessing it before you enter lets you adjust the dive plan accordingly. What Affects Visibility Several factors influence underwater visibility at any given site and time: Rainfall and runoff Heavy rain washes sediment, freshwater, and organic material into the sea. Visibility on nearshore reef sites often drops significantly after rain, particularly in areas with rivers or developed shorelines nearby. It typically recovers within one to several days depending on current and water movement. Current direction Current can either carry sediment away from a site, improving visibility, or bring it in, reducing it. The same site can have very different visibility depending on which direction the current is running. Bottom composition Sand and silt sites lose visibility quickly when disturbed by surge, diver movement, or current. Sites over rock, hard coral, or rubble tend to recover faster and maintain better visibility under similar conditions. Time of day and sun angle Low sun angles in early morning or late afternoon can create backscatter and reduce effective visibility even when the water is clear. Midday sun overhead often provides the most even lighting for diving, though this varies by site orientation and depth. Plankton and biological activity Plankton blooms reduce visibility but can also indicate conditions that attract large filter feeders. Green or murky water isn't always a sign of poor conditions: it depends on what you're hoping to observe. Adjusting the Plan for Visibility Conditions Low visibility is not automatically a reason to cancel a dive, but it requires adjustments. Buddy contact protocols need to be tighter. Navigation references need to be closer and more frequent. Depth limits may need to be shallower to maintain visual contact with the reef or bottom structure. The dive plan that works in twenty-five meter visibility does not automatically work in five meters. Low visibility can also produce a more intimate, close-range experience on a site you already know well. When conditions narrow your visual field, you often slow down and observe more carefully what is directly in front of you. Many divers find this produces better encounters with small reef life than a wide-open high-visibility dive. The key is that conditions remain suitable for the divers and the specific dive plan in place. Know what the visibility actually is before you plan the dive, not after you get in. If no recent report is available from the site, watch for the water color and clarity from the boat before entry. Understanding Surge Surge is the back-and-forth horizontal water movement generated by wave action at the surface. Unlike current, which moves consistently in one direction, surge oscillates: it pushes you toward the reef and then pulls you away, repeatedly. It is most pronounced in shallow water and diminishes with depth, though on exposed sites it can be felt at ten to fifteen meters or deeper. Why Surge Matters Surge affects how you hold position near the reef. In moderate surge, you spend energy compensating for the back-and-forth movement rather than observing. In heavy surge, maintaining safe distance from the reef becomes difficult, and contact with coral or rock is a real risk. Entry and exit points that are easy in calm conditions can become hazardous when surge is running. The practical consequence: assess surge before the dive, not after you are in the water at the reef. A site that is excellent in calm seas may be inappropriate on a day with significant swell. Reading Surge from the Surface Swell height and period are the primary indicators. A long-period swell (ten seconds or more between waves) generates more pronounced surge at depth than a short-period chop of the same height. Watch how the water moves around the entry point and along the reef edge. A surge that is washing back and forth across a shallow section is telling you something about conditions at depth on that site. Local guides and operators know how specific sites respond to swell. A site facing a particular direction may be surgy in conditions that leave a nearby protected site completely calm. That local knowledge is one of the most practical assets available on an unfamiliar dive destination. Consider how surge may affect your ascent, safety stop, and final exit. Surge is typically more pronounced in shallower water, so conditions at five meters may be significantly different from what you experienced at depth. If shallow conditions are unsuitable, plan an appropriate alternative before entering the water. Timing Your Dives Timing is one of the most underestimated variables in dive planning. The same site can produce a completely different experience at different times of day, and at different points in the tidal cycle. Divers who think carefully about timing consistently find more interesting conditions than those who dive whenever the schedule allows. Tides and Current Windows On tidal sites, the relationship between tide state and current strength determines when the dive is best suited to the conditions you want. Slack water around a tide change is often the calmest period. Peak tidal flow can produce conditions that are challenging or unsafe at certain sites. On drift dive sites, outgoing or incoming flow at a particular strength may be exactly what you want. Getting this right requires knowing the local tidal pattern for the specific site. Tidal tables give you the framework. Local knowledge tells you how that site actually responds. Wind and Sea State Wind typically builds through the day in many tropical destinations. Morning dives often benefit from calmer sea state before afternoon trade winds develop. This is a general pattern, not a universal rule: local geography, season, and weather systems all modify it. The point is that sea state is a time-sensitive variable, and planning dives for the part of the day when conditions are typically best at a given location is worth the consideration. Animal Behavior and Timing Animal activity on a reef changes throughout the day. Predator activity tends to increase at dawn and dusk as light levels drop. Some species are more active at particular times. Cleaning stations tend to see more activity when fish are actively feeding and moving around the reef. Nocturnal species emerge after dark and retreat at first light. These patterns vary significantly by species, location, season, and local conditions. Rather than applying universal rules, the more useful habit is to factor in what you know about the specific animals you hope to observe at that site, and choose timing accordingly. Experienced local guides carry this knowledge and it is one of the most practical reasons to dive with someone who knows the site well. Timing a dive well isn't about following a formula. It's about asking the right questions before you get in: what are the tides doing, what is the wind likely to do this afternoon, and what do I know about how this site and its animals behave at this time of day? Entry, Exit, and When Not to Dive Entry and exit planning is where site assessment becomes most directly practical. A well-chosen entry point accounts for current direction, surge, the depth of the descent zone, and how you will reach the dive site efficiently. A well-chosen exit point accounts for where the current will carry you at the end of the dive, where the boat can reach you, and what your contingency is if conditions change. Planning the Entry For an out-and-back dive, the usual approach is to begin against the current and return with it, so the effort portion of the dive happens when your air is full and your energy is highest. For a drift dive, the entry is planned upcurrent of the intended route, with an appropriate exit or boat pickup arranged in advance. On surge-affected sites, choose an entry point that minimizes exposure during the most vulnerable moment, when you are in the water but not yet at depth. On boat dives, coordinate with the crew on the descent plan so everyone enters the same area and reaches the site together. Planning the Exit Know before you enter where you expect to surface, and what the alternative is. If the current pushes you past your planned exit point, where does it take you, and can the boat reach you there? If visibility drops during the dive and you need to ascend without the reef as a reference, what is your procedure? These are not catastrophic scenarios. They are foreseeable variations that a good exit plan accounts for in advance. Brief them with your buddy and, on a boat dive, with the crew before entry. When Not to Dive Deciding not to dive a particular site, or not to dive at all on a given day, is a legitimate and sometimes correct outcome of a site assessment. Conditions that exceed the experience level of the group, surge that makes the entry hazardous, visibility that makes the planned route unsafe, current that cannot be managed by the divers present: these are reasons to change the site, change the plan, or skip the dive. This is not a failure of planning. It is planning working correctly. The goal of a site assessment is not to find a reason to dive. It is to form an honest picture of conditions and decide whether the dive, as planned, is appropriate for those conditions and those divers. Sometimes the answer is no, and the right response is to act on that answer. A diver who has cancelled a dive for the right reasons has made a better decision than one who proceeded under poor conditions and got lucky. Developing the judgment to make that call is part of becoming an experienced diver. Building a Pre-Dive Assessment Routine Site assessment doesn't need to be a formal checklist. With practice, it becomes a natural part of arriving at a dive site. The goal is to make it a consistent habit, so that you are always entering the water with a current, informed picture of conditions rather than assumptions from the last time you dived the site. A Practical Sequence 1. Observe before you gear up Before you open your bag, spend a few minutes watching the site. Look at the surface, the entry point, and any visible underwater structure. This is when you form your initial read on current, surge, and visibility. 2. Ask for local information If you are diving with a local operator or guide, ask about conditions at the specific site before the dive. What is the current doing today? Has there been rain? Is surge a factor? Recent firsthand information is more reliable than general site descriptions. 3. Factor in the tidal cycle Know where you are in the tidal cycle and how that affects the site. If tides are relevant to current at the site, plan your entry timing around the conditions you want. 4. Brief the dive Before entry, confirm the plan with your buddy: entry point, direction, depth limit, turn point, exit point, and signals. Include what you will do if conditions at depth differ from what you observed at the surface. 5. Confirm at depth In the first minutes of the dive, confirm that conditions match your surface assessment. If the current at depth is different from what you expected, reassess the plan before continuing. 6. Stay flexible A plan is a starting point. Conditions change during a dive, and a good diver adjusts the plan in response. If conditions deteriorate during the dive, the plan you briefed before entry is the reference point for how to respond. None of this takes long. Five to ten minutes of focused observation and a clear pre-dive brief change the quality of the dive that follows, not because you eliminate uncertainty, but because you enter the water with a realistic picture of what to expect and a plan that accounts for it. Reading conditions is a skill that develops with practice and attention. The divers who do it well aren't necessarily the most experienced. They're the ones who have made a habit of paying attention before they get in. That's the difference between a diver who has done a lot of dives and a diver who has learned from them.
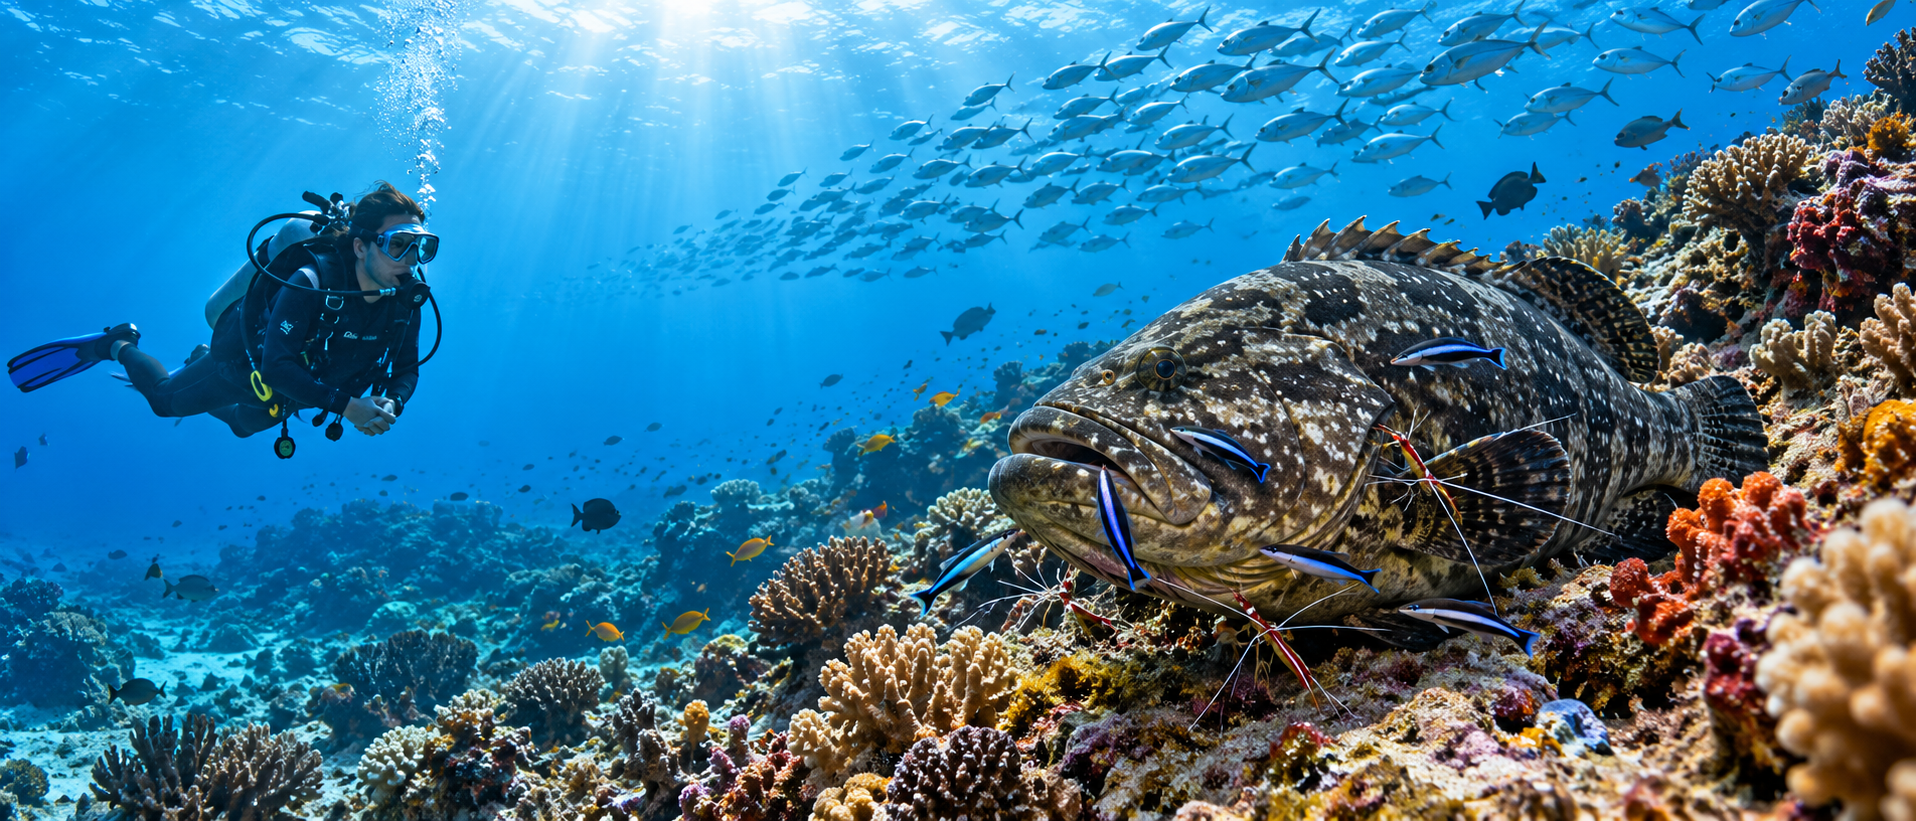
Coral reefs cover less than one percent of the ocean floor. They support roughly 25 percent of all marine species. The reef you dive is not a backdrop. It is one of the most intricate living systems on the planet, and once you understand how it works, you see everything differently underwater.
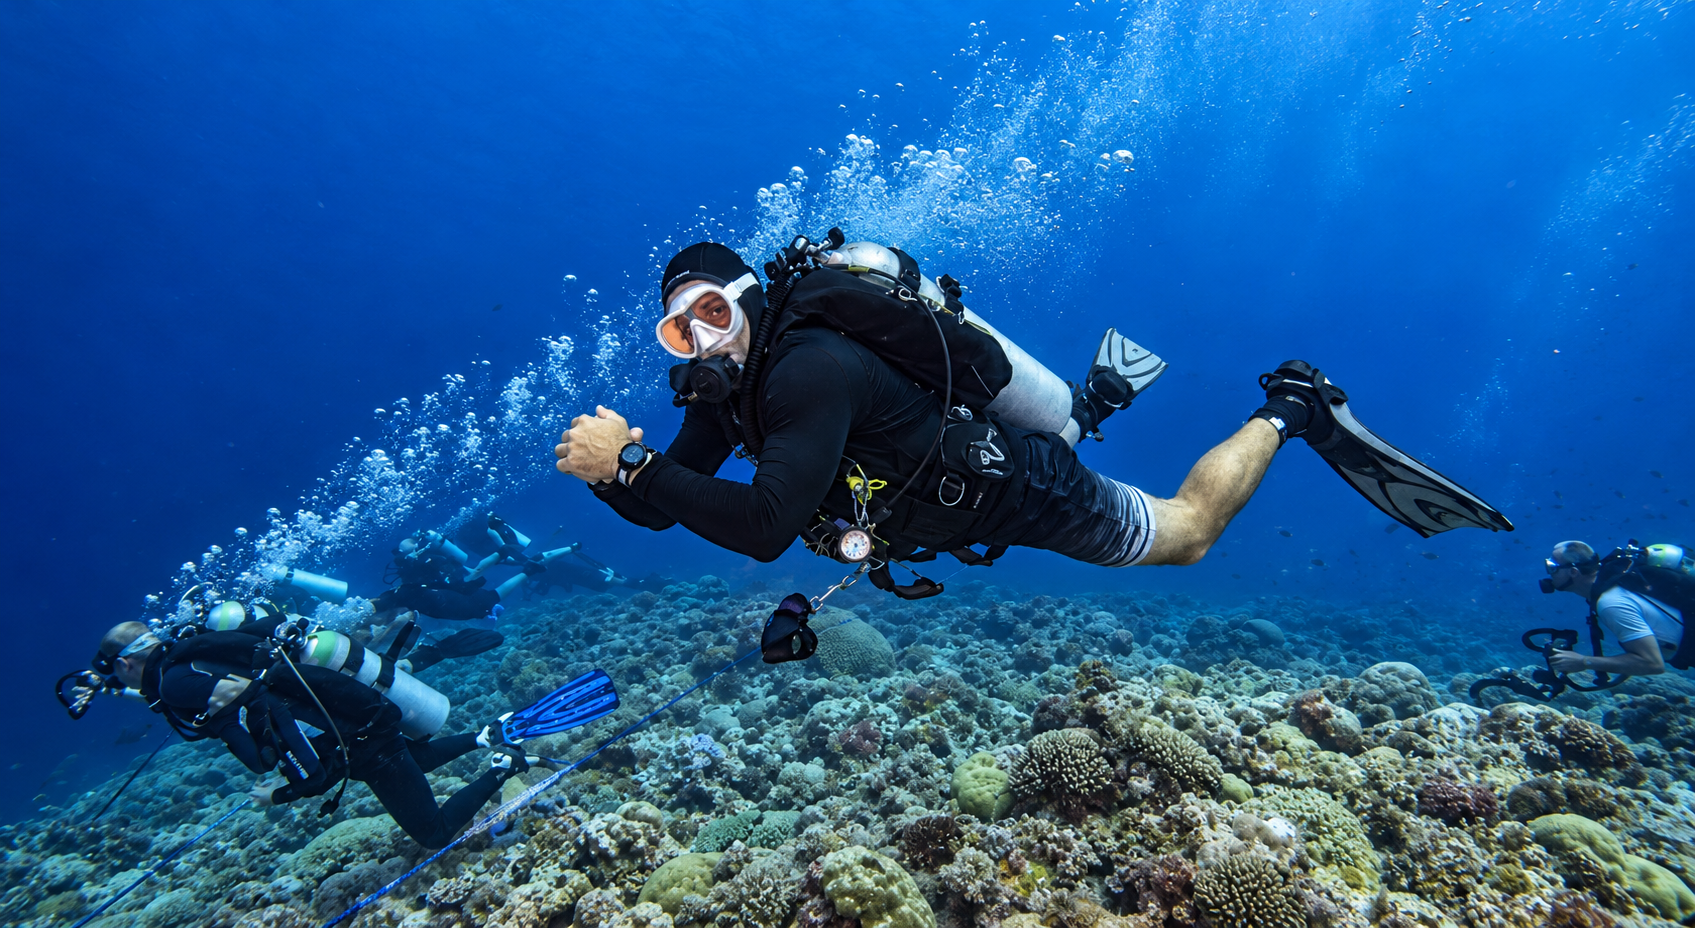
Why I sold a brand-new BCD after one dive in Cozumel: what a backplate and wing change about trim, where it came from, and the honest trade-offs.

Ten nights diving Palau with my brother for his 60th: Blue Corner, Blue Holes, German Channel, the Iro Maru, and a reunion 20 years in the making.
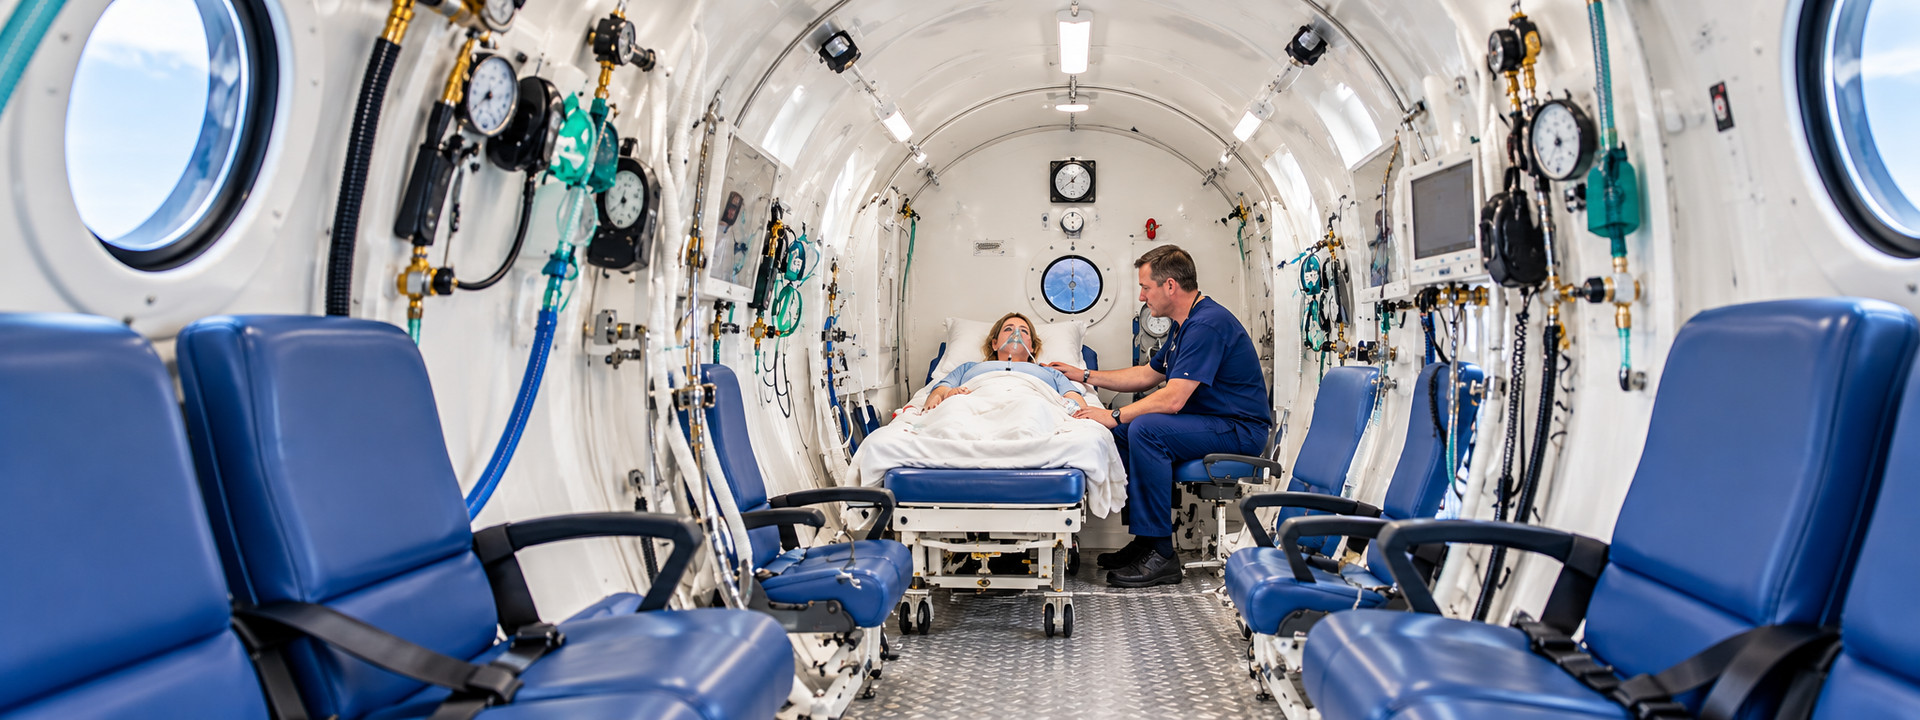
Why I require 24 hours between the last dive and the flight home, and the DCS risk factors divers actually control: profile, exertion, temperature, and nitrox.
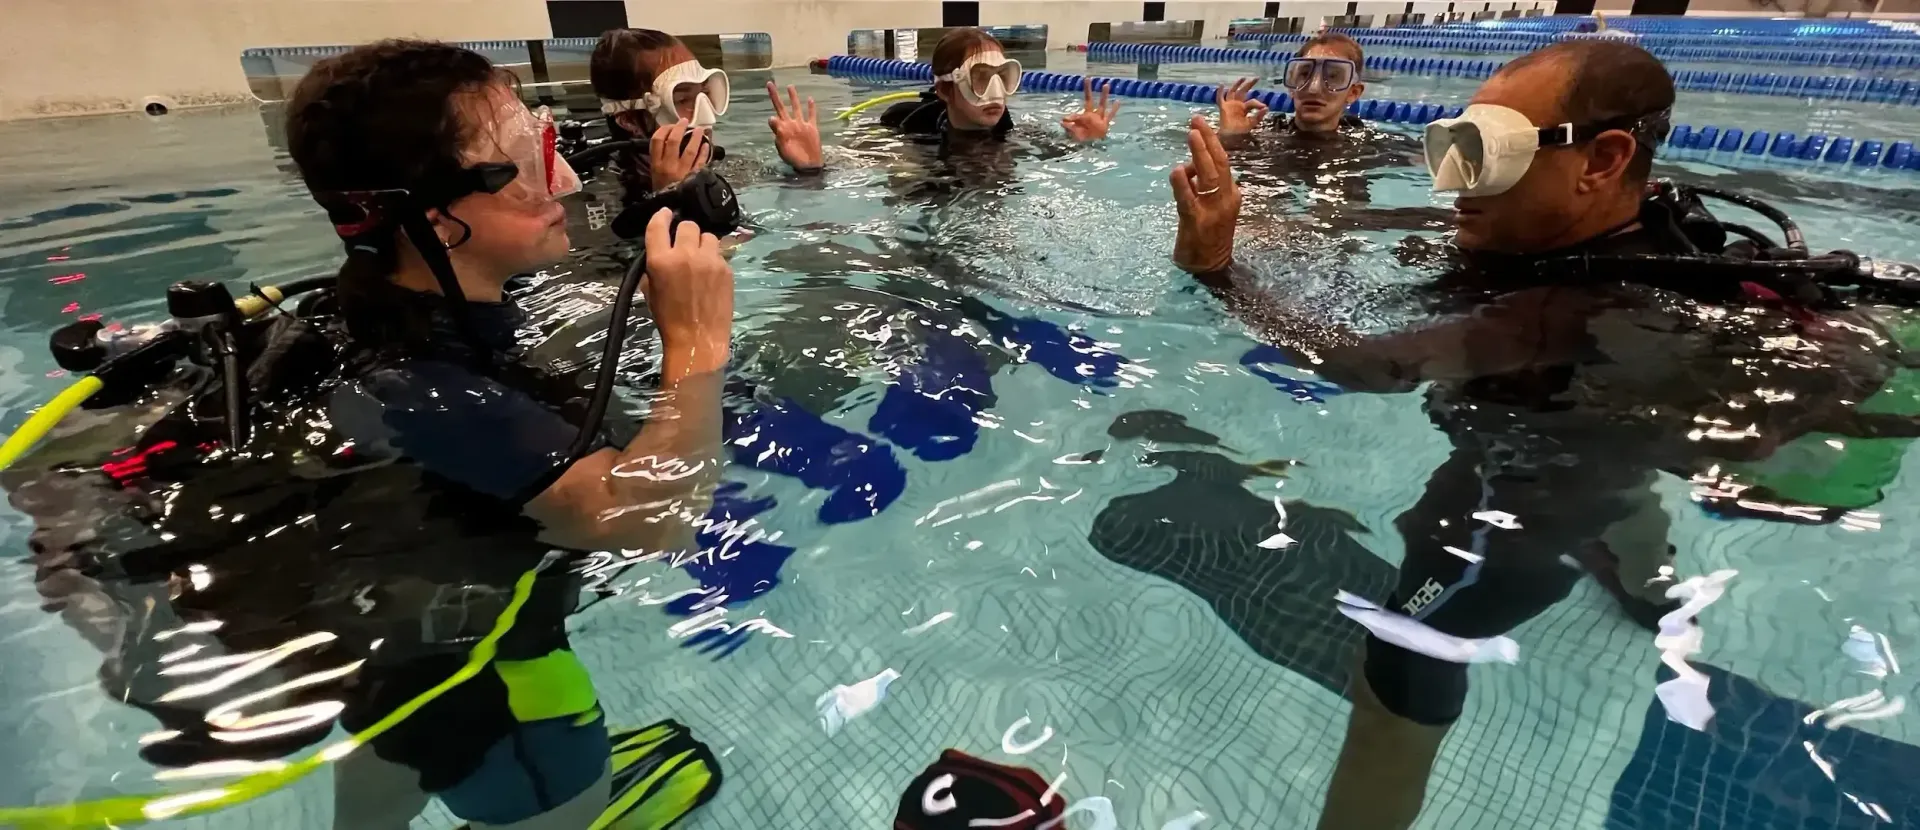
Scuba diving is an immensely enjoyable avocation that combines adventure, knowledge, skills, and self-discipline. Humans were not meant to spend much time underwater, but thanks to technology, we are able to enjoy the mysteries of the last frontier on this planet.
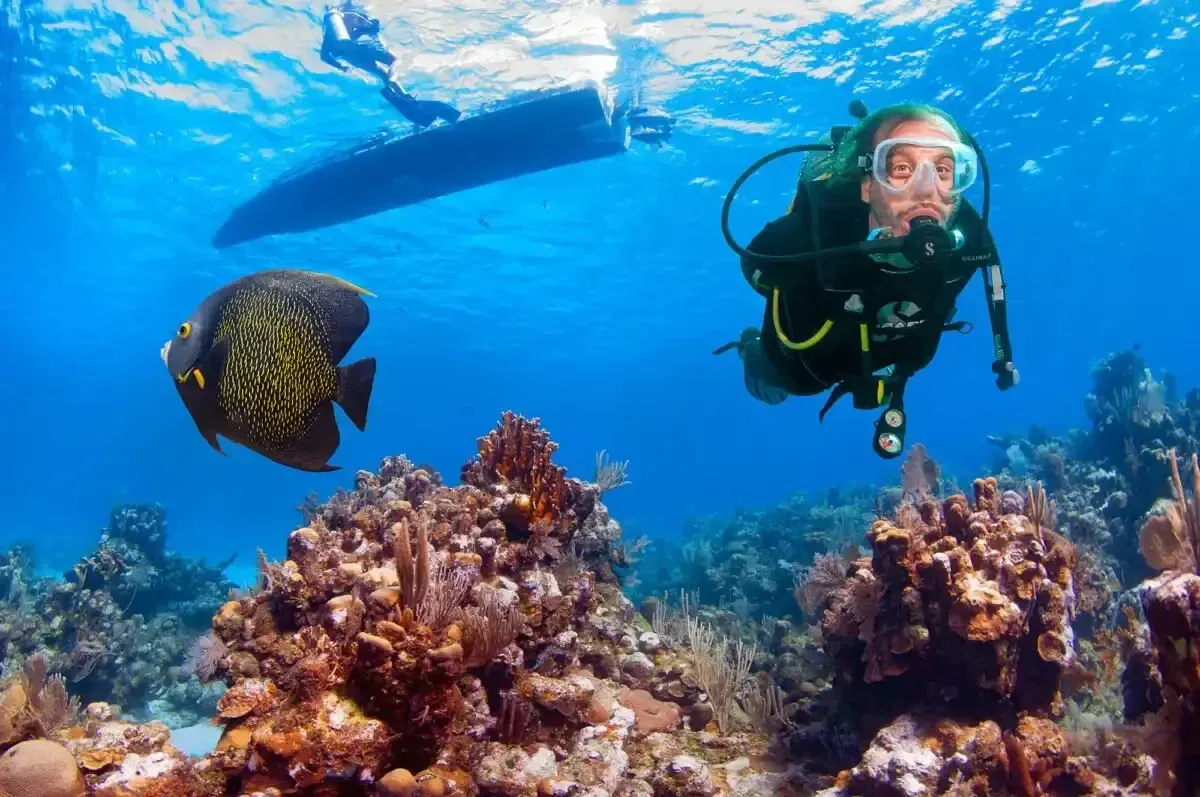
A dive travel story following a week at Mayan Princess Beach & Dive Resort in Roatán, Honduras — exploring Caribbean reef sharks, wrecks, Garifuna culture, and local food.

Explore Saba's world-class diving, charming village life, and dramatic volcanic landscapes in this firsthand travel account from the "Unspoiled Queen" of the Caribbean.
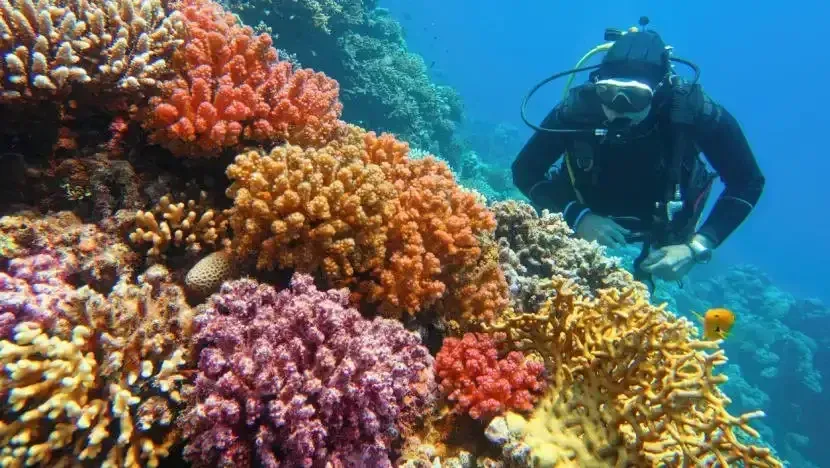
Explore how mindful diving practices and coral reef restoration efforts work together to protect our oceans, and discover how you as a diver can make a real difference.
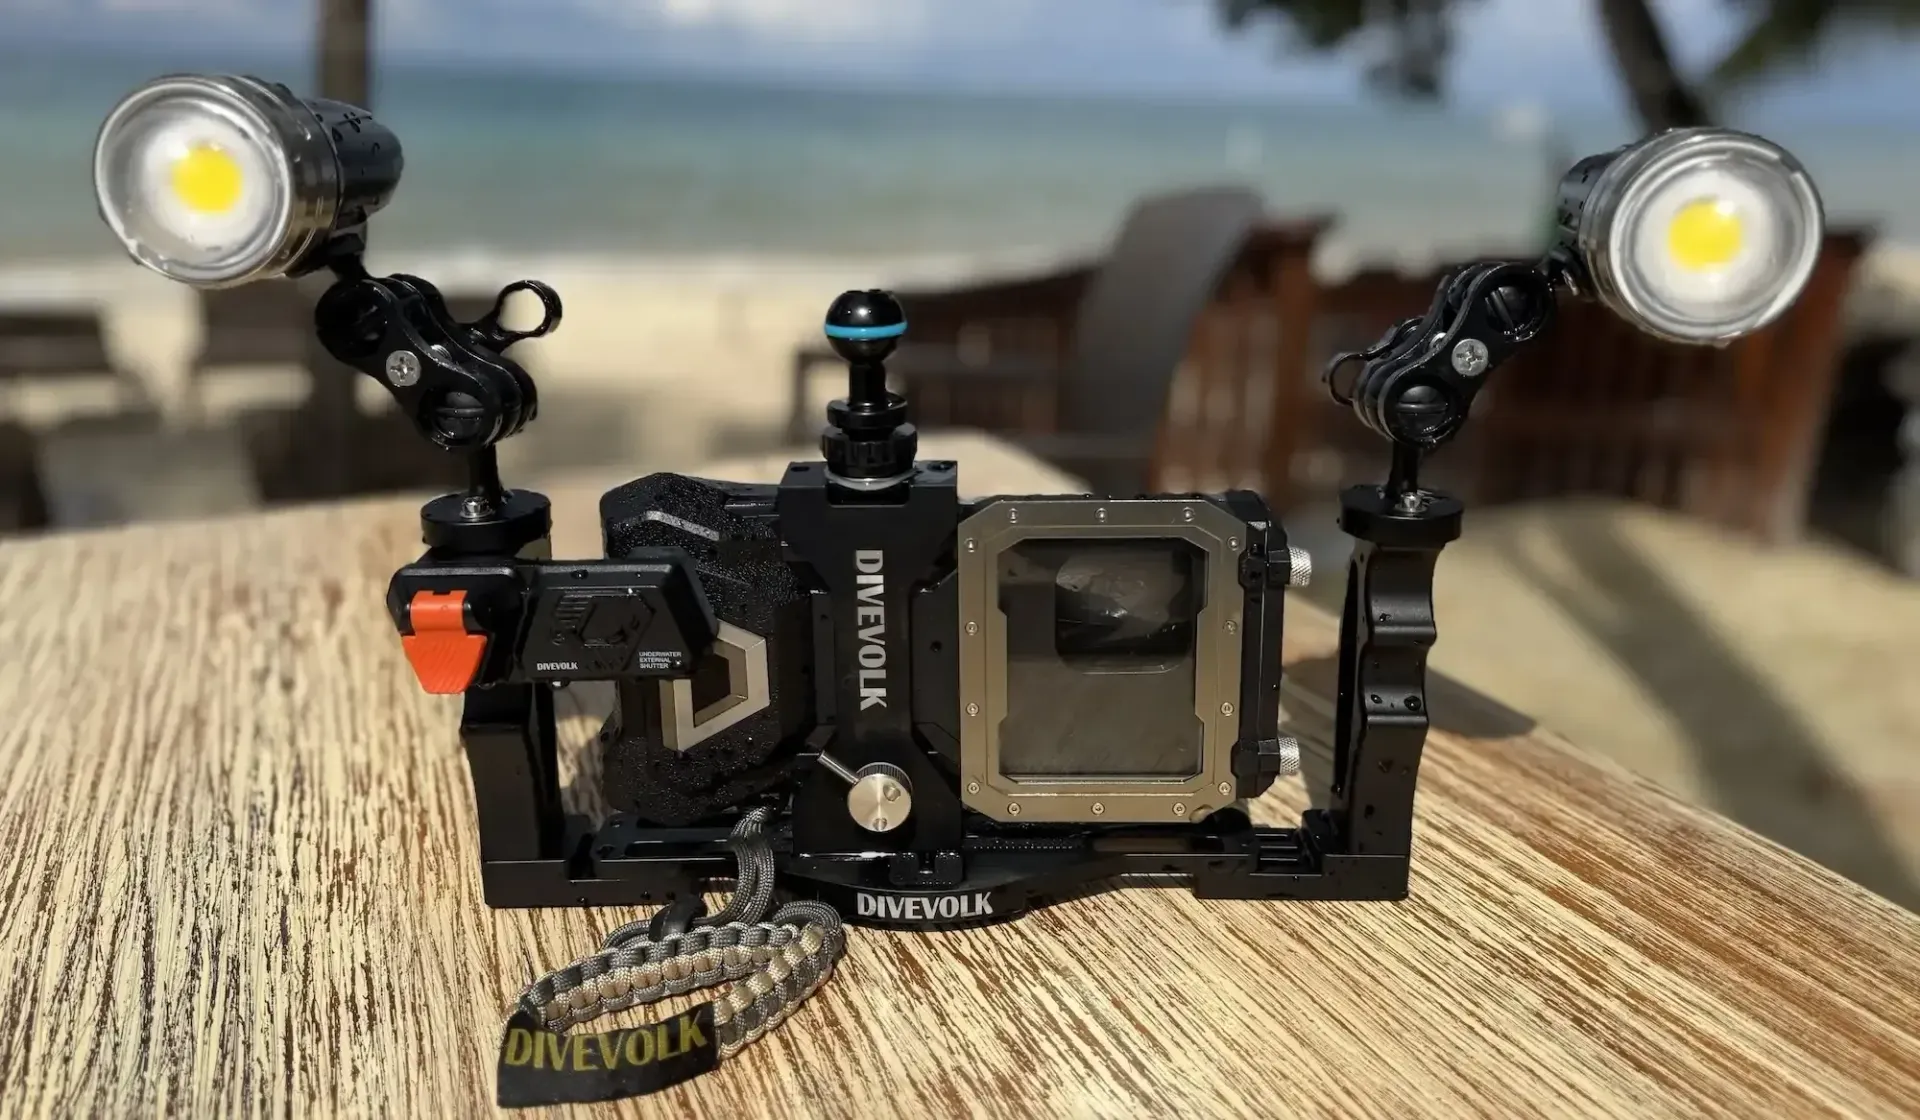
A dive center owner's personal review of the Divevolk SeaTouch 4 Max underwater phone housing, comparing it to competitors and sharing pro tips for underwater phone photography.